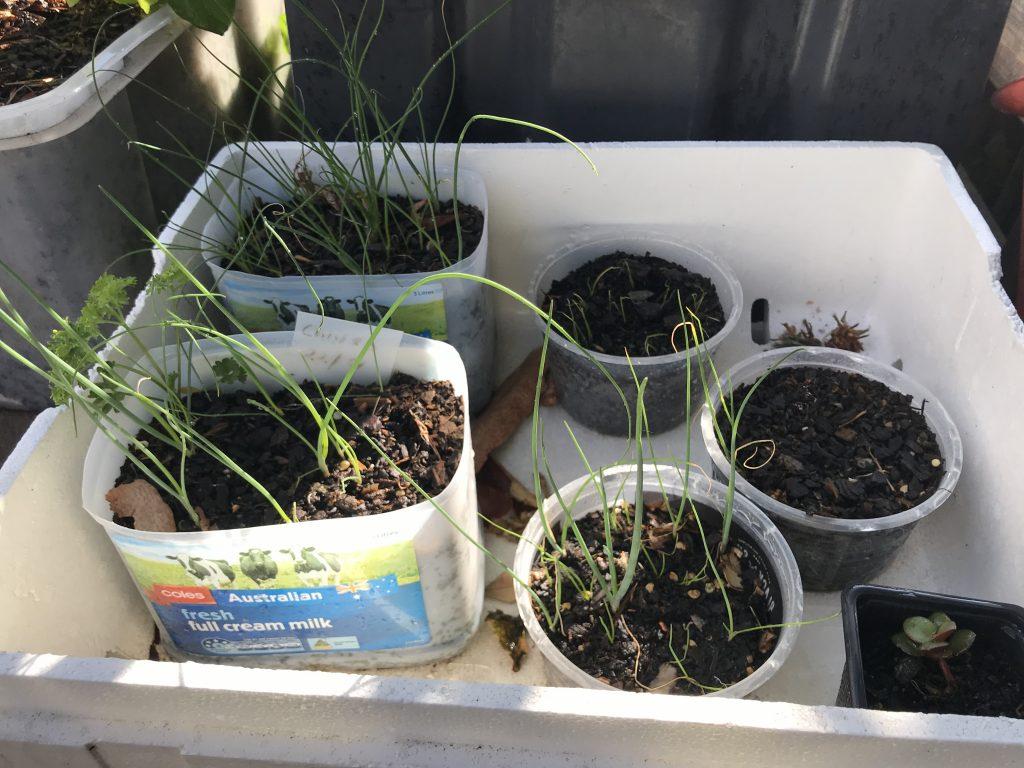
If you’re looking for a fun and sustainable way to garden, why not try making your own DIY garden planters with recycled materials?
You can use all sorts of things – from old tires to plastic bottles – to create planters that are both unique and environmentally friendly.
Here’s how:
Find some recycled materials
You can use just about anything, as long as it’s sturdy enough to hold soil and plants. Some ideas include plastic bottles, cardboard boxes, or metal cans.
Choose the right recycled material
Old bicycle tires will make a good choice for your DIY garden planters because they are sturdy and durable.
You can use an old tire as it is without cleaning.
However, if you want to make sure that it does not rot, you should clean and dry the tire thoroughly before assembly.
If not cleaned, the tire may come with mud and plant debris inside that will rot. It may even attract insects.
Decide on the size and shape of your planter
This will depend on the type of plants you want to grow and the space you have available.
Try to choose a size that will be manageable for you.
Clean and prepare recycled materials
You can use an old car or bicycle tube for your DIY garden planters. If you want to reuse a car tube, it is better if you clean up the interior of the tire thoroughly.
If you decide to use bicycle tubes, make sure that the tire and tube are completely dry to avoid rotting.
When you have a good idea of what you want your planters to look like, it’s time to start cutting!
Cutting the recycled materials
You can use old pieces of wood or cardboard for this part, as they will add stability and structure to the items you’re working with.
Take care not to puncture anything through on accident while drilling holes.
Once your shapes are cut, you can use them as stencils to trace the final planter shape onto whatever piece of material you will be using for the outside of your DIY garden planters.
Keep in mind that this part needs to be sturdy and thick enough to hold soil and plants.
After cutting out these shapes, you should have a good idea of what your final planter will look like. Now it’s time to make sure everything fits together properly.
The last thing you want is for the finished product not to sit flush against the ground or wobble around when you try to pick it up!
Assemble DIY garden planters
When choosing plants for your DIY garden planters, it is important to remember that plants will need adequate drainage holes for soil retention and healthy root growth.
So before assembling the recycled materials, you must create drainage holes on the bottom and sides of your recycled materials.
You can use a drill or even a soldering iron for this step.
Finally, all that’s left is to fill with soil and plants.
Plant flowers or herbs in DIY garden planters
Now it’s time to plant some dirt and seeds into your newly-made recycled garden planters!
Add soil to your DIY garden planters, sow seeds and cover with more dirt.
Your plants will germinate within days to weeks depending on the plant species (such as tomatoes) you choose for your recycled garden planters.
Most types of potting soil will work fine, although the larger your planter holes are, the more plants you can fit into it.
Fill up to around two inches from the top so that there’s room for draining when you water your plants.
Once your new recycled garden planters are filled with soil and plants, place them in the sunny part of your yard or patio that gets at least 6 hours of sun a day.
Now sit back and enjoy your beautiful new planters!
Enjoy your beautiful, eco-friendly garden!
By now, you should have some beautiful flowers blooming in your new recycled garden planters. Show your creation off to your friends and neighbors.
They will be impressed by how beautiful your recycled materials look when turned into DIY garden planters!
DIY garden planters with recycled materials are easy to make, unique, sustainable, and can also be used indoors if you don’t have outdoor space.
Who knew it could be so easy to create your own planters from scratch?
